

How to Use CMOS Jumper Pins and Fix a PC That Boots to BIOS
Reset BIOS with the CMOS jumper, button or coin cell the safe way, then fix a PC stuck booting to BIOS, a missing SSD boot option or an XMP crash.
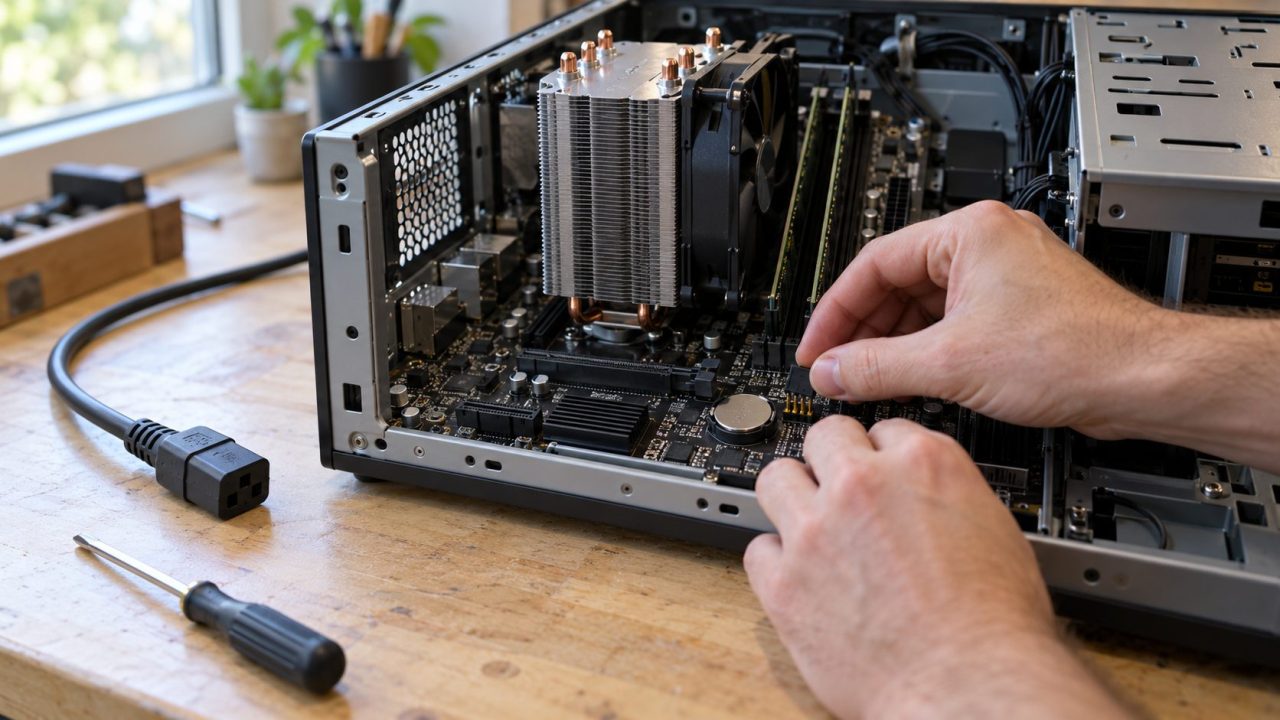
The CMOS jumper is a set of motherboard pins that returns the BIOS settings to factory defaults. You need it when a bad overclock, a failed XMP profile or a settings mix-up stops the PC from reaching setup. Here’s how to use CMOS jumper pins safely, then how to stop a PC from booting straight to BIOS.
What the CMOS Jumper Resets, and What It Leaves Alone
It resets firmware settings, not your data. ASUS says a CMOS clear wipes the Real Time Clock (RTC) RAM: date, time, BIOS settings and BIOS password. Your files, Windows and BIOS version stay put.
That’s the point of learning how to use CMOS jumper pins: they fix settings, not a dead drive or a faulty part. If setup still opens, loading defaults there does the same job.
Before You Start: Unplug, Find the Label, Save Your Key
Download your exact board’s manual first; it’s the only reliable guide to how to use CMOS jumper pins on it. Then:
- Cut all power. Shut down, unplug the power supply and press the power button to drain leftover charge. Touch bare metal on the case before reaching inside.
- Find the jumper. Labels include CLRTC (ASUS), JBAT1 (MSI) and CLR_CMOS (Gigabyte); some manuals call it the BIOS reset or Clear RTC jumper.
- Photograph your settings. If setup opens, snap the boot, storage and memory pages.
- Laptop? Stop here. Everything below on how to use CMOS jumper pins assumes a desktop. A laptop’s internal battery keeps the board live without the charger, so use the maker’s documented reset and open it only if the service manual says to, battery disconnected first.
Resetting the TPM, Secure Boot or boot order, or updating the BIOS, can trigger BitLocker recovery. If Windows still boots, suspend BitLocker first. Your key may be at aka.ms/myrecoverykey, in a work or school account, or on a printout or USB drive.
If an AMD board offers to reset the fTPM, answer N unless you have the key.
Jumper, Button or Battery: What Your Board Uses
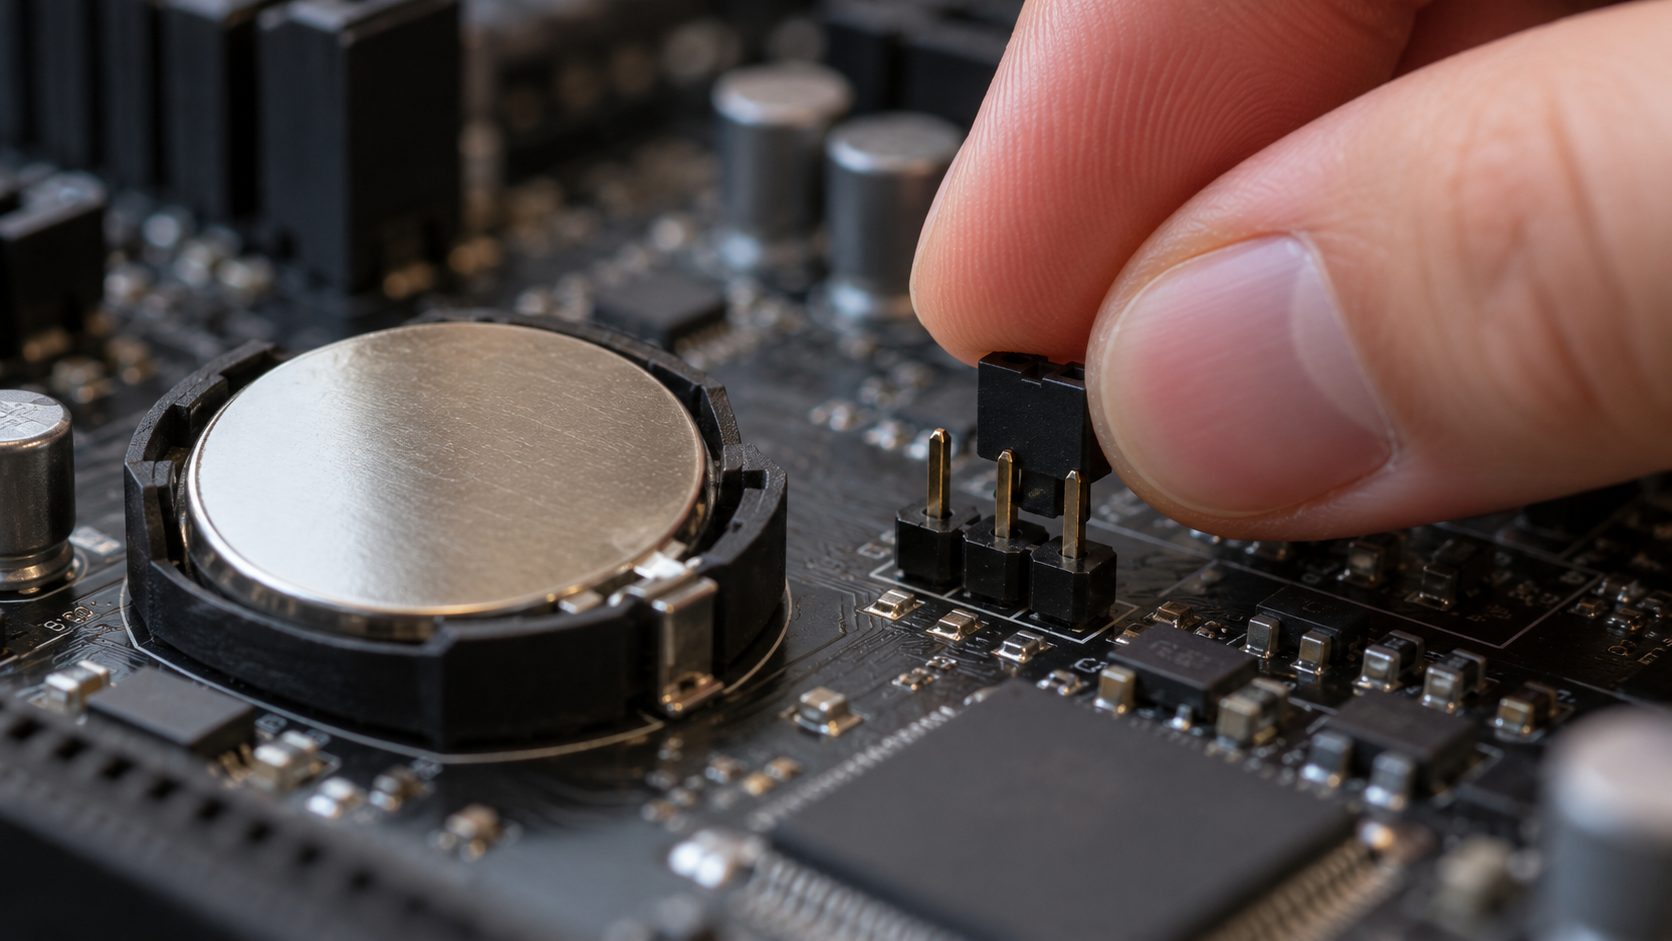
Not every board has pins, so check which type yours has before following any guide on how to use CMOS jumper pins. ASUS boards have either a 2-pin CLRTC header or a Clear CMOS button.
3-pin jumper
Move the cap from pins 1-2 to 2-3, wait, then move it back.
2-pin header
Bridge the two pins with a jumper cap or a screwdriver tip.
Clear CMOS button
On the rear panel or the board. With the PC unplugged, ASUS says to hold it about 5-10 seconds. Don’t mistake it for BIOS flashback.
Coin-cell battery
Remove the cell (usually a CR2032) for a few minutes, noting which side faces up. Some sit under a heatsink or on a cable.
No jumper cap? How to use CMOS jumper headers with a screwdriver
Hold a flat screwdriver tip across both pins for the time your manual gives, touching nothing else.
Lenovo’s ThinkCentre neo 50t Gen 4 guide shows how to use CMOS jumper pins in a different order: jumper to the maintenance position, plug in and power on, wait about 10 seconds after the beep, hold power about 4 seconds, unplug, jumper back, then F1 at the logo.
How to Use CMOS Jumper Pins, Step by Step
This is how to use CMOS jumper pins on a typical retail board, following ASUS’s guide to clearing CMOS (written for 2-pin headers).
Power off
Unplug the power supply and press the power button once.
Locate it
Open the case and find the header in your manual’s diagram.
Short or move
Bridge the pins or move the cap to 2-3. ASUS says 5-10 seconds; other makers vary.
Restore
Return the cap or remove the bridge.
Power on
On ASUS, press F1 at the reset notice, F5 for Optimized Defaults, then F10 to save.
After the reset: put these settings back
Knowing how to use CMOS jumper pins is half the job; the other half is restoring what the reset removed:
- Date and time. Set them in setup.
- Boot mode. UEFI, unless Windows was installed in Legacy (CSM) mode (see below).
- Secure Boot. Back on if it was on before; it works only in UEFI mode.
- Boot order. Windows Boot Manager first.
- Storage mode. Match your photos. A switch from RAID or Intel VMD to AHCI can cause an INACCESSIBLE_BOOT_DEVICE blue screen.
- Memory. Leave XMP or EXPO off for now.
Even if you followed these steps on how to use CMOS jumper pins exactly, the first boot can look like a failure. DDR5 systems retrain memory after a reset, so the screen can stay black for a minute or more. If the PC beeps instead, see our guide to a PC beeping at startup.
Why Is My PC Going Straight to BIOS?
A PC that keeps booting to BIOS has usually lost its settings or found nothing to boot. If you searched for how to use CMOS jumper pins because of this, check these first.
Settings lost after every power-off. If the date and time reset or a “settings reset, press F1” notice appears after each unplug, the coin cell is probably flat. With the PC unplugged, replace it (usually a CR2032; match the old marking), then redo your settings.
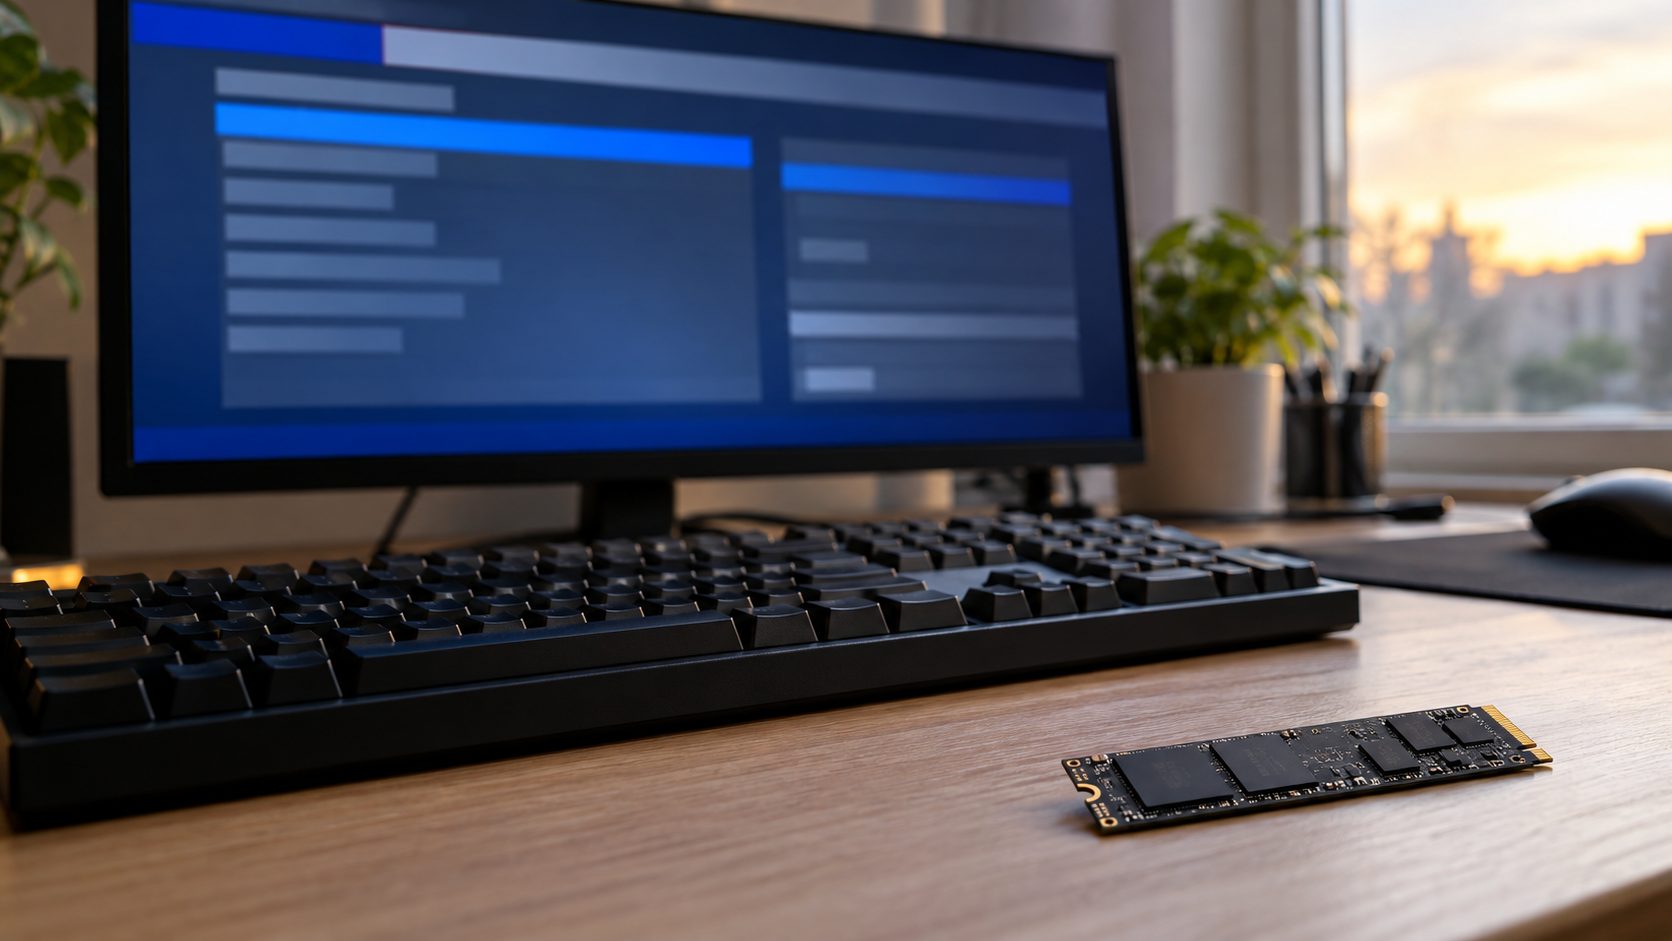
Drive missing from the boot list. The board isn’t detecting it, and no boot order can fix that. Unplug the PC, reseat the M.2 drive or the SATA cables, and try another slot or port. Check the manual for M.2 slots that disable SATA ports.
Drive listed, Windows won’t start. Try these in order: unplug extra peripherals, make Windows Boot Manager Boot Option #1, check the UEFI vs CSM setting, load Optimized Defaults, and update the BIOS last. If Windows boots but every restart hangs, see what to do when Windows 11 won’t restart.
SSD Not Showing as a Boot Option? Look for Windows Boot Manager
On a UEFI PC, the top entry should usually be Windows Boot Manager, not the SSD’s name. If it’s missing:
- A new, blank drive has no Windows to boot.
- A clone without its EFI partition copied the data but not the boot files.
- A USB stick left plugged in can take the top spot.
- An MBR disk won’t boot with CSM off (see below).
If the drive is detected but Windows Boot Manager is gone, Microsoft’s BCDBoot can rebuild the boot files (advanced users only). From Windows installation media, press Shift+F10 and run this, with D: as the Windows drive’s letter:bcdboot D:\Windows
It needs an EFI System Partition on that SSD, so re-clone with all partitions if it lacks one, and disconnect the old drive first so BCDBoot can’t write to it.
UEFI vs CSM: when a reset flips the boot mode
Windows boots in the mode it was installed in: UEFI needs a GPT disk, and a legacy MBR install needs CSM. If a reset flipped that setting, a healthy drive looks unbootable.
To check, press Shift+F10 in Windows Setup and run diskpart, then list disk; an asterisk under Gpt means GPT. On GPT, set UEFI. On MBR, re-enable CSM or, on boards without it, convert the disk.
Microsoft’s MBR2GPT tool converts the system disk without deleting data, but permanently. Confirm the PC supports UEFI, back up and suspend BitLocker, then run these from an admin prompt (from WinPE, drop /allowFullOS and add /disk:N, where N is the Windows disk’s number from list disk):mbr2gpt /validate /allowFullOSmbr2gpt /convert /allowFullOS
Then switch the firmware to UEFI. To re-enable BitLocker, delete and recreate its protectors.
Why XMP or EXPO Is Crashing Your PC
XMP (Intel’s profile, also usable on AMD boards) and EXPO (AMD) run memory above its default speed. The kit is rated for it, but your CPU and board may not hold it. AMD classes EXPO as overclocking that voids its warranty and may damage hardware or corrupt data.
Many boards recover on their own after a few failed starts, so give it two or three. If it still crashes or won’t reach setup, ASUS recommends a CMOS clear, and this is where knowing how to use CMOS jumper pins pays off. Then:
- Run at default memory speed for a day.
- Check the kit is on the board’s QVL (qualified memory list); two sticks reach rated speeds more easily than four.
- Update the BIOS if offered, with BitLocker suspended.
- Re-enable the profile and test with Windows Memory Diagnostic or MemTest86. If errors return, lower the speed or leave it off.
CMOS Jumper Questions: Power, Timing and Passwords
Can I use the CMOS jumper with the PC powered on?
Not on a typical retail board: ASUS’s instructions for how to use CMOS jumper pins start with the PC unplugged. Use a powered procedure like Lenovo’s only if your manual describes one.
How long should the jumper stay in the clear position?
ASUS says 5-10 seconds, but times vary by maker, so your board’s manual is the final word on how to use CMOS jumper pins. On an unplugged board, a longer wait does no harm.
Can it remove a forgotten laptop BIOS password?
Usually not, even though some guides on how to use CMOS jumper pins suggest it. Many laptops store the supervisor password separately, and Lenovo says a forgotten ThinkPad one means a paid system-board replacement.
Still Stuck After Clearing CMOS?
If the reset didn’t take, repeat it with the coin cell out too. If there’s still no picture, suspect hardware and contact the board or PC maker.
Once you know how to use CMOS jumper pins, a bad setting is a short fix: reset, restore the boot settings, add XMP last. More fixes, including one for an undetected SSD, are in our computer guides.


Leave a comment