

SSD Not Showing on Mac? Fix External Drives in Finder and Disk Utility
Trace a missing external SSD through System Information, Disk Utility and Finder, fix the approval, cable, mount or NTFS problem, and copy files off before any erase.
An SSD not showing on Mac is rarely a dead drive. More often macOS detects it but hides the volume, leaves it unmounted, can’t write to its format, or was never allowed to use it. Trace the drive through System Information, Disk Utility and Finder: where it vanishes points to the fix.
This guide covers an external SSD not showing on Mac, including M.2 drives in enclosures. A missing startup disk is a job for macOS Recovery instead.
SSD Not Showing on Mac? Find Where It Disappears First
Start with the free checks for an SSD not showing on Mac: reconnect it directly with its own cable, then restart. Still missing? Find the deepest place it still appears.
| Where it shows up | Likely cause | Fix |
|---|---|---|
| Nowhere | Not allowed, cable, port or power | Allow it, then check hardware |
| System Information only | Disk Utility’s default view | Show All Devices |
| Disk Utility, grayed out | Not mounted or damaged | Mount, then First Aid |
| Disk Utility, not Finder | Finder hides external disks | Finder settings |
| Finder, but read-only | NTFS or permissions | Read-only fixes |
To open System Information, hold Option and choose Apple menu > System Information, or go to System Settings > General > About > System Report. Look under Hardware in the USB or Thunderbolt section; labels vary by Mac and macOS version.
M-Series MacBook? Allow the Drive to Connect
On Mac laptops with Apple silicon, a new USB or Thunderbolt accessory triggers an alert asking whether to allow it. If someone clicked Don’t Allow, the Mac won’t recognize the SSD, though it may still draw power. That one click can leave an SSD not showing on Mac with a perfectly good cable.
- Unlock the Mac, then unplug and reconnect the SSD. Apple says the alert returns on the next connection, so click Allow.
- No alert? In System Settings > Privacy & Security, scroll down and click Accessories (on Ventura to Sequoia, the menu is in the Security section). Check “Allow accessories to connect”; Ask for new accessories is the default.
- After three or more days locked, you might need to unlock the Mac before a previously allowed drive works again.
On a supervised work or school Mac, an administrator controls this setting, so ask your IT team. Apple’s accessory approval page lists every option.
Hidden in Finder: Turn On External Disks
If Disk Utility shows the volume mounted, an SSD not showing on Mac in Finder comes down to two settings:
- Choose Finder > Settings (Preferences on Monterey and earlier).
- On the General tab, select External disks under “Show these items on the desktop.”
- On the Sidebar tab, select External disks under Locations.
Still missing from the sidebar? Hover over Locations and click the arrow that appears.
External SSD Not Showing on Mac in Disk Utility? Show All Devices
Disk Utility opens in Show Only Volumes view by default, and a blank or unmountable drive has no volume to list there. Choose View > Show All Devices to see each physical drive with its containers and volumes.
Grayed-out volume: mount it
A dimmed volume means macOS detects the drive but hasn’t mounted it. Select it and click Mount; an encrypted volume asks for its password. If it won’t mount, run First Aid.
The “not readable” alert (Initialize, Ignore, Eject) appears for a blank SSD, and also for one with a damaged or unsupported format. Initialize leads to erasing the drive, so use it only on a new or empty SSD. If the drive holds files, click Ignore and recover them first.
Prefer Terminal? This read-only command lists external disks:diskutil list external
If it’s listed, macOS sees the hardware, and your SSD not showing on Mac is likely a mount, format or Finder problem.
Not in System Information? Check Cable, Port and Power
An SSD not showing on Mac in System Information points to the connection, the power or the drive itself. Rule out the accessory alert above first; after that, no setting will fix it. Work down this list:
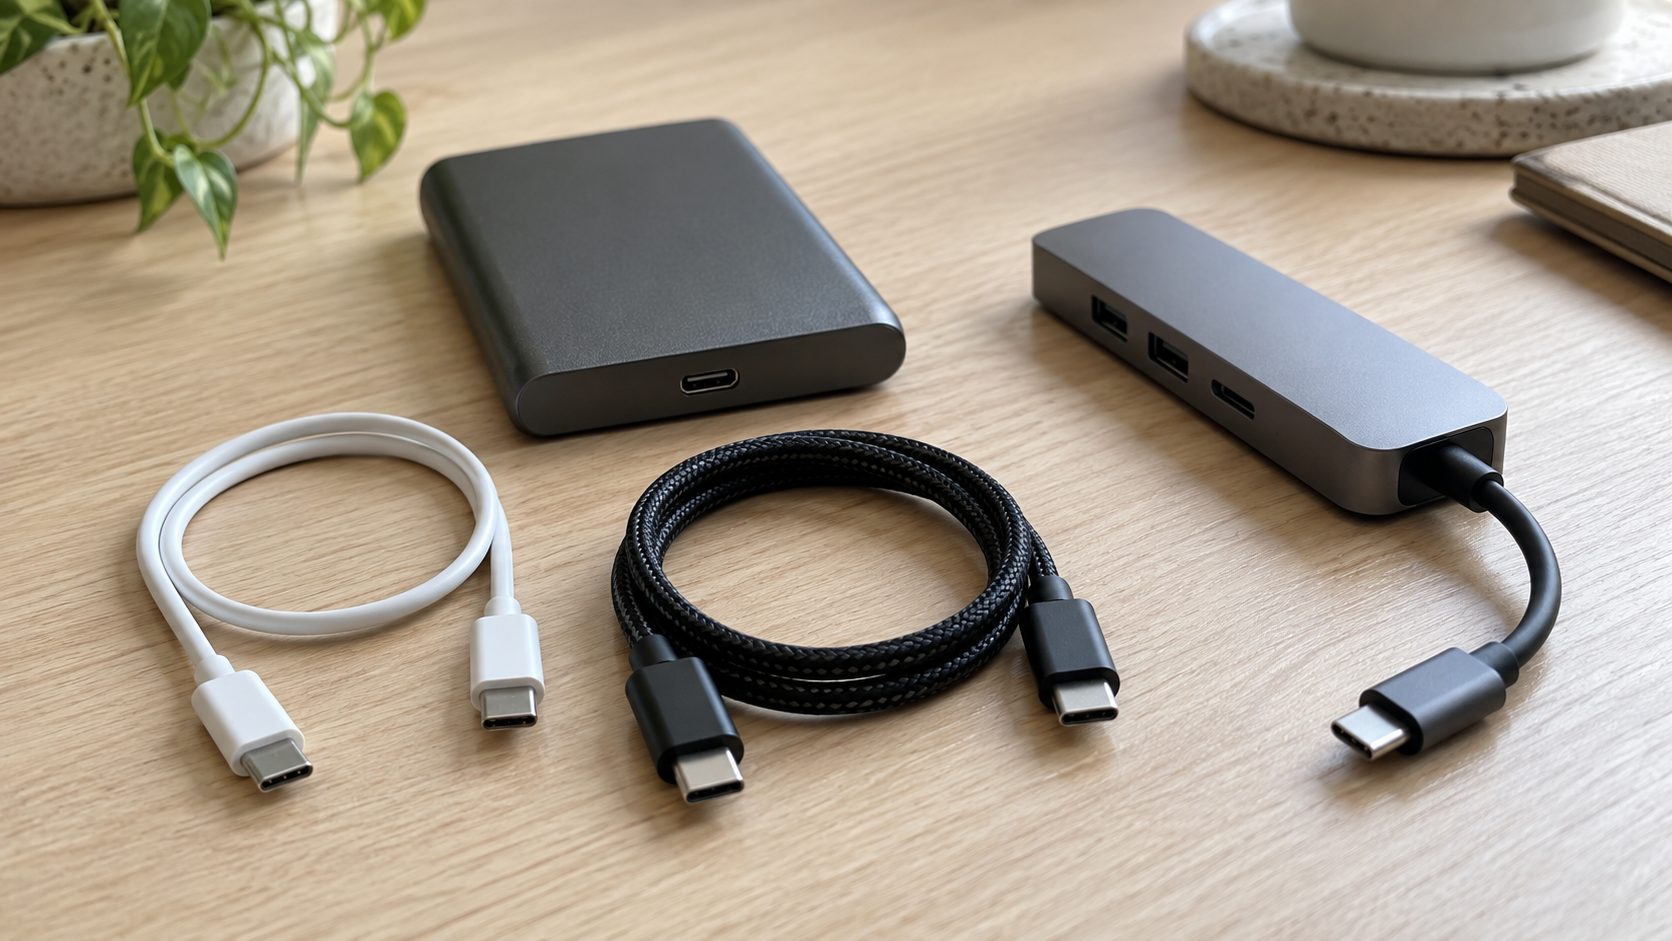
- Use the drive’s own cable. Apple’s USB-C Charge Cable carries data at only 480Mbps (USB 2.0). A USB SSD usually still appears over it, just slowly; a Thunderbolt-only SSD won’t, and a charge-only cable carries no data. Cables look alike, so use the one that came with the drive.
- Match the port. A Thunderbolt-only SSD or enclosure won’t appear in a plain USB-C port, such as the front ports on a Mac mini (2024 or later) or on a Mac Studio with a Max chip, two of the ports on a four-port iMac with M1 or M3, or either port on MacBook Neo. Your Mac’s Tech Specs list which is which.
- Connect directly. Skip hubs, docks and extension cables, and try another port. A drive that needs more power than the port supplies can go unrecognized, with a “USB Devices Disabled” message; unplug other USB devices except the keyboard and mouse.
- Check the enclosure. A mismatched M.2 enclosure is another cause of an SSD not showing on Mac: many take only NVMe or only SATA drives, so match the drive type and reseat it.
- Try another computer. If it’s missing there too, suspect the SSD or enclosure; if it works there, this Mac’s ports, cable or settings are to blame. On a Windows PC, see our guide to an SSD not showing up in Windows.
Mounted but Read-Only: NTFS, Permissions and Time Machine
Sometimes it isn’t really an SSD not showing on Mac: the drive appears but won’t take files. Select it in Finder and press Command-I to check its format and free space, then match the cause:
NTFS from Windows
Apple says Disk Utility doesn’t support NTFS, which a Mac “might be able to read from, but not write to.”
Permissions
In Get Info, click the lock under Sharing & Permissions, enter an admin password, then select Ignore ownership on this volume.
Time Machine disk
A Time Machine drive is dedicated to backups. Keep everyday files on another drive.
For NTFS, copy every file off first, since reformatting erases the drive, then reformat as exFAT. Avoid NTFS drivers built on kernel extensions: on Apple silicon they can require Reduced Security, and Apple advises moving away from legacy extensions. See Apple’s guide to drives that won’t save files.
Run First Aid, Then Reformat Only as a Last Resort
First Aid can’t detect or repair every problem. Apple’s First Aid order runs from the bottom up:
Back up
Copy what you can before any repair or erase step.
Last volume
In Show All Devices view, select the SSD’s last volume and click First Aid.
Work upward
Repeat for each volume, then each container. Skip any dimmed First Aid button.
The device
Finish with the SSD itself. An “about to fail” warning means back up and replace it.
With a Windows PC at hand, you can also check SSD health in more depth.
Reformat as APFS or exFAT
If First Aid finds errors it can’t repair, Apple’s next step is to erase the drive. Erasing fixes an SSD not showing on Mac only when the format or partition map is at fault, not a bad cable or enclosure.
The steps below wipe the whole SSD. Continue only when its files are copied elsewhere or not needed.
- In Disk Utility’s Show All Devices view, select the SSD itself at the top, not a volume.
- Click Erase. No Scheme menu means you selected a volume.
- Set Scheme to GUID Partition Map, choose a format and name, and click Erase.
Choose APFS for Mac-only use; Apple optimized it for flash storage. Choose ExFAT to share with Windows, or MS-DOS (FAT) for 32 GB or less. Headed for an Xbox? Skip this: the console formats the drive itself, as our Xbox SSD guide explains.
Skip Mac OS Extended for new setups; Apple’s current Disk Utility guide no longer lists it. Apple also says macOS 28 and later will support it only on unencrypted volumes, so back up an older encrypted one, then convert or decrypt it.
Frequently Asked Questions
Is an SSD not showing on Mac a sign the drive is dead?
Not necessarily. Suspect the drive only when it’s missing everywhere: from System Information with a known-good cable in a direct, compatible port, and from another computer. For an M.2 drive, try another enclosure first.
Why is my SSD not showing on Mac through a USB-C hub?
Hubs share limited power. Connect the SSD directly, or use a self-powered hub that matches the drive’s speed, with its AC adapter plugged in. A Thunderbolt-only SSD needs a Thunderbolt dock instead.
Why is my password-protected Samsung SSD not showing on Mac?
Until it’s unlocked with Samsung’s software, a password-protected Samsung portable SSD shows only a small restricted area. If that software asks you to lower startup security, unlock the drive on another computer instead. A lost password means a factory reset that erases everything.
Do I need to reset the SMC on an Apple silicon Mac?
No. Apple says the SMC resets automatically on Apple silicon, so a restart covers it. On an Intel-based Mac, the SMC manages USB port power, so if an SSD not showing on Mac also seems unpowered, Apple’s SMC reset steps are worth trying.
Recap: Check in This Order
For an SSD not showing on Mac, go from cheapest to most drastic: reconnect directly with the drive’s own cable, approve it, unhide it in Finder, then show and mount it in Disk Utility. Missing from System Information? Check cable, port and power. Run First Aid, and erase only once your files are safe.
More troubleshooting is in our computer guides.

Leave a comment